Select a stage icon to begin! For info on characters click here.
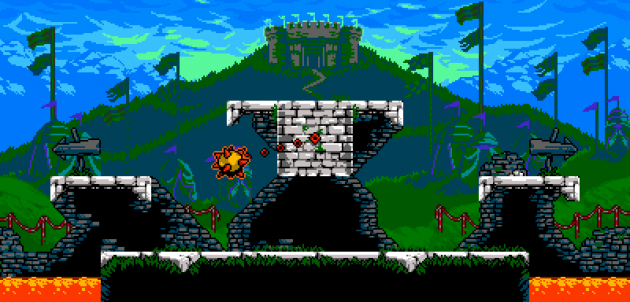
Colosseum – Morningstar Arena
An all new battlefield exclusive to Showdown! The platforms are nice and symmetrical, making a sporting fairground for a spirited duel. Take care when jumping through the screen sides for a quick shortcut. The unrelenting revolutions of the center mace have caught many unsuspecting knights off guard. Try not to fall to the same fate!
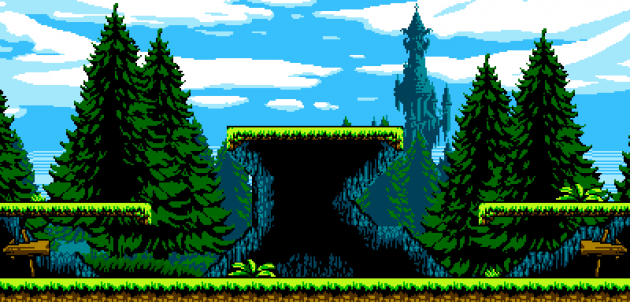
Plains – Grassy Clearing
Many an adventure kicked off in these fated fields, at all times of the day! You might just end up in the dawn, daytime, or night. But the terrain will always be the same. The nice, even terrain is perfect for all sorts of battles.
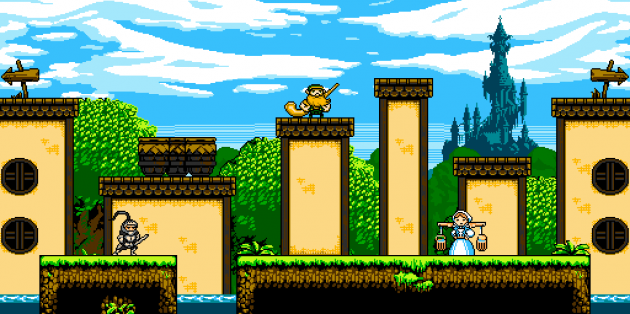
Village – Town Center
What a bustling town! Choose carefully whether to traverse through the rooftops or travel on solid ground. The villagers may attack or push you around, so don’t think you’re safe just because a knight is not nearby.

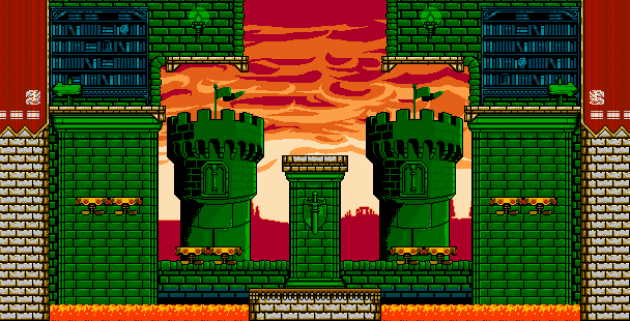
Pridemoor Keep – Hall of Springs
A majestic, royal library..fighting can happen anywhere! Springs are key here to navigating the arena quickly. In Treasure Clash, the gems only appear over the center platform. Hold your footing!
Lost City – Magma Basin
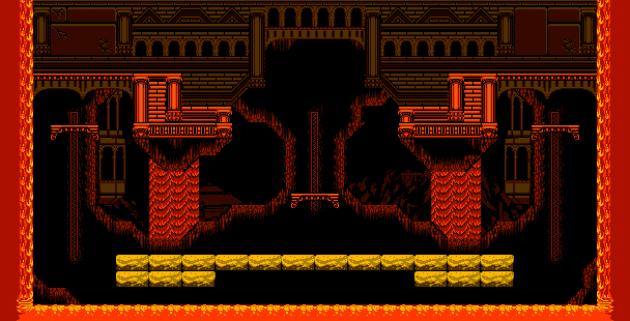
Surrounded on all sides by liquid magma. Stay out of the heat! This arena is focused around the blocks. All the gems will spawn above them. Break those blocks to drop the floor out from under your foes…but if things get too heated, grab a moving platform out of there!
Troupple Grotto – Royal Pond
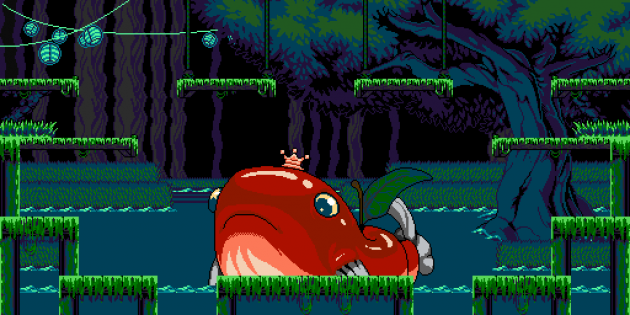
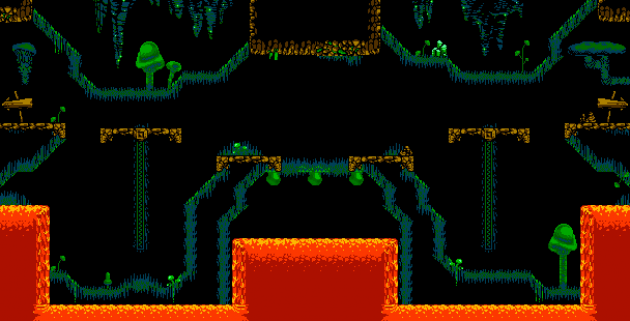
Troupple King may be busy, but not too busy for a dance among friends. He’ll make a grand entrance now and then, so watch out for his fish entourage! His spit can cause damage, too, but – if you catch the right one – you might get a treat.
Stranded Ship – Waterlog Brig
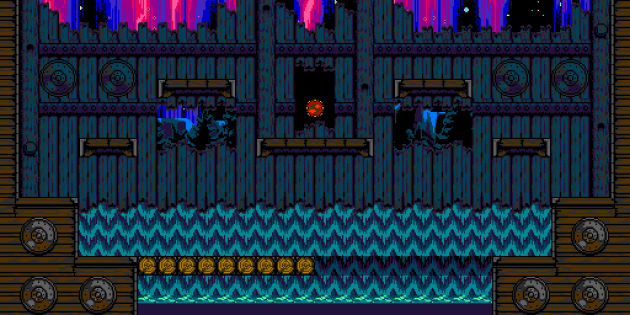
The freezing waters of Stranded Ship’s Waterlog Brig await your plummet! The switch in the center of the stage changes what side of the stage has an active bridge. Use the switch to swap the ground from left to right, tricking your foes…but be careful to avoid meeting the same fate if you’re caught standing on the bridge!
Clockwork Tower – Gear Factory
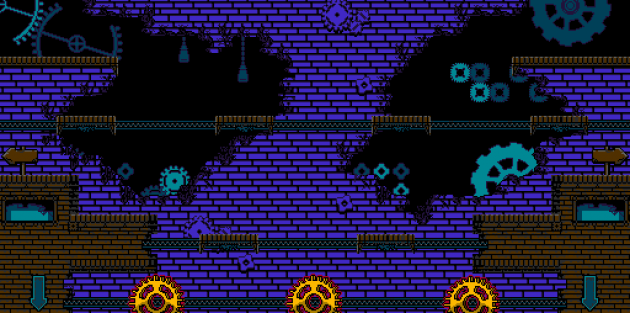
So many gears! Tinker Knight really can’t get enough of them, huh? The edges of the screen are safe and wrappable. Balancing and landing a blow in the center takes some hard work! Watch out for the gears at the bottom, but don’t be afraid to fall. Wrapping from the bottom to the top of the screen can really throw off your opponent.
Lich Yard – Mausoleum
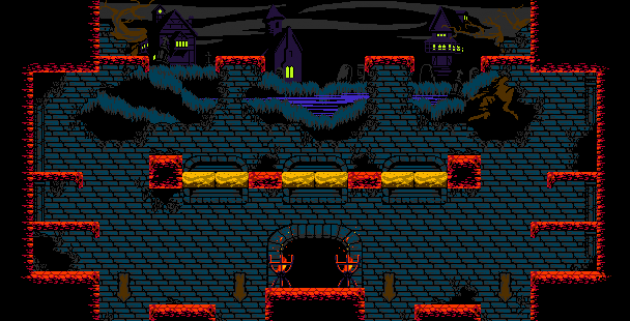
Ooh, this place is a bit creepy! Gems spawn in the center here, but with the blocks, it’s tough to stick around. Don’t forget you can fall off screen and wrap to the top for a quick return.
Undervillage – Potionarium
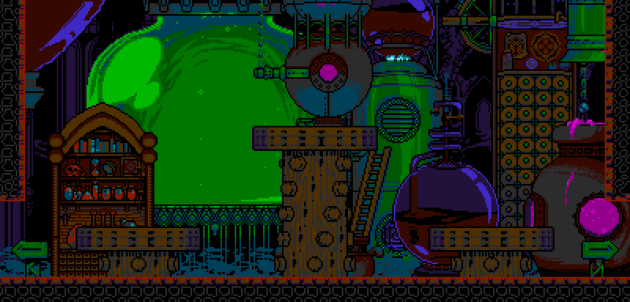
Something is brewing down here…The potion pillars will change their arrangement with consistent timing. This battlefield is all about using height to your advantage, but the screen wrap always gives you an escape!
Lost City – Goo Gorge
Lava is commonplace in the Lost City…the goo is the only safety net. With consistent timing, the goo will drop in the background and turn the floor of lava to goo! When the floor is goo, use it to your advantage to navigate around the arena and don’t forget about the screen scrap!
Flying Machine – Sky Deck
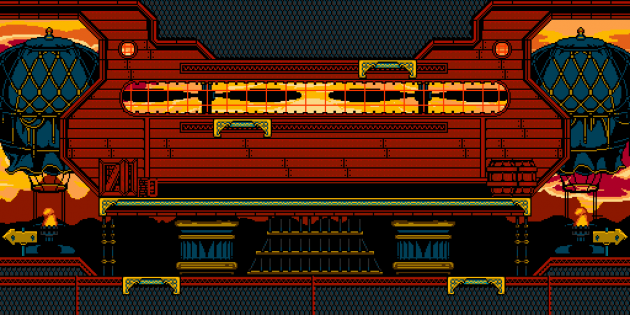
This really is the peak, isn’t it?! A nice place for a simple battle, if you can keep from losing control. The screen wrap and platforms on the bottom can save you from a nasty attack or spill.
Village – House of Joustus
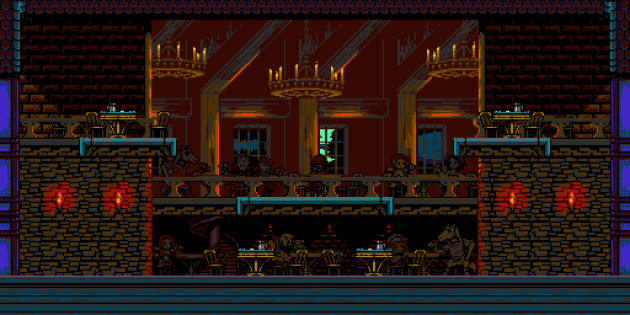
The Joustus craze is sweeping the land! Every now and again, a crowd will pass through in a card playing furor. Make sure you don’t get carried away in all the fun!

Clockwork Tower – Piston Furnace
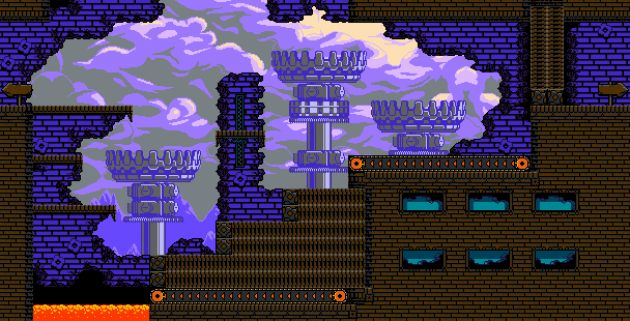
Contraptions abound! Be sure to watch your footing. The drawbridges can help you get a step up, but they might also push you to your doom! It’s best to keep jumping here…don’t stay still for too long.

Colosseum – Triad Hill
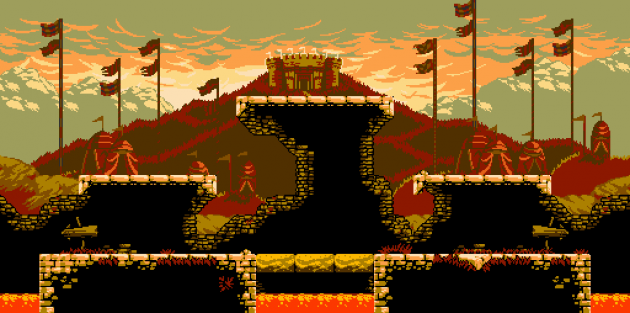
Three basic platforms with a little spice of lava and dirt in the center. The screen wrap makes the stage feel bigger than it is…don’t feel too constrained! A great place for a balanced 4 player fight. Try different item options to see what works best.

Troupple Grotto – Axolongl Cave
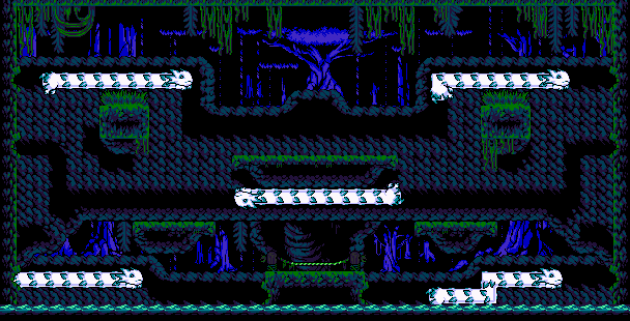
What a friendly, mysterious, secluded place…are we intruding? The axolongls will move on consistent paths throughout the stage. Jump on them to easily navigate around, but don’t let them push you somewhere you don’t want to be!

Birder Bluffs – Shifting Balcony
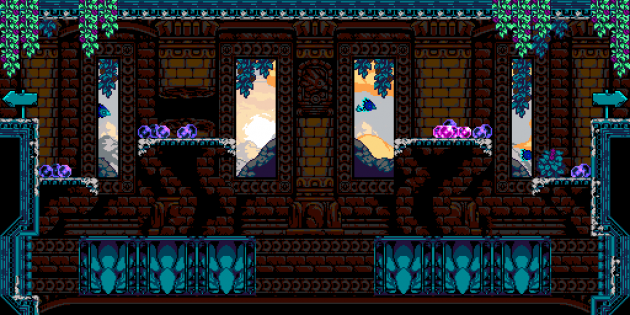
Everything is shifting! The birders are on the loose! The top is contentious for space, the bottom is no place to relax. For a bit of extra room, try the screen wrap on the sides.

Flying Machine – Fleet Tour
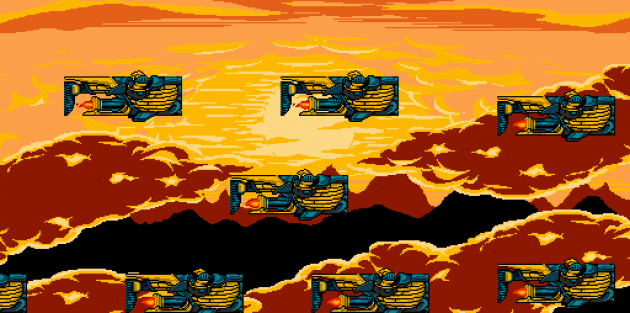
Ah, a great place for a bout. The sunset, she is beautiful, no? There are lots of skiffs to manage between calm flat sections. Stay focused and you’ll be treated to a ride on Rooster Gent’s airship!

Wilderness – Proving Grounds
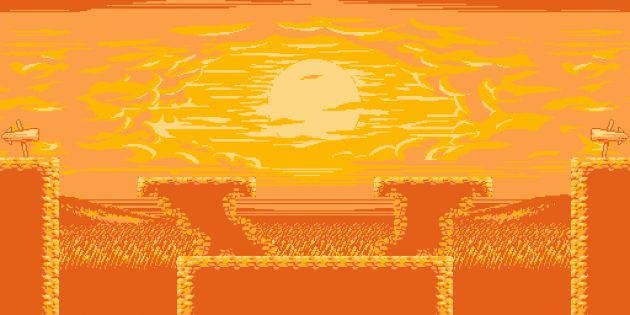
Even though it’s out in the wilderness, it seems many dramatic duels took place here. Once the battle gets going, so too does a mighty wind storm, pushing everyone to different sides. Make sure you don’t get wind swept into a pit!

Tower of Fate – Mirror Chamber
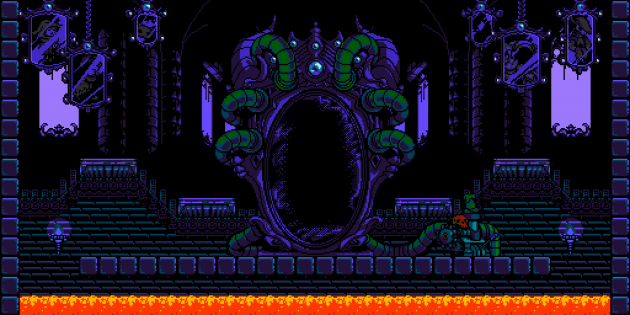
Seems like some dramatic events might have happened here. Be sure to use the many platforms and heights to your advantage. The mirrors here don’t do anything, but if you pass one of the smaller ones by, you might affect it a bit!

Pridemoor Keep – Castle Tour
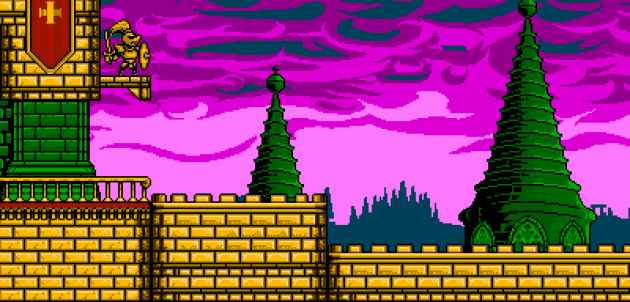
Pridemoor is a well protected fortress. Keep an eye out for oil drops and crowndaliers…and watch your step near those deadly pits. The stage will loop if the timer is long enough.

Campfire – Dream
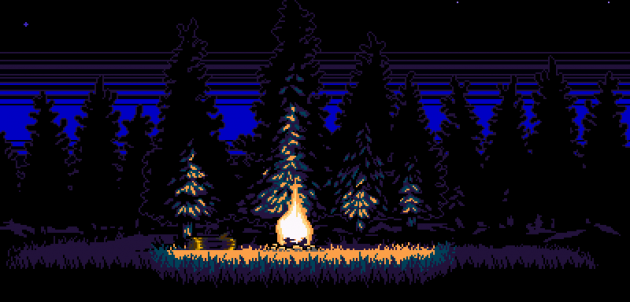
Sitting by that campfire sounds nice and comfy…but there’s no time to rest! Since this stage is completely flat, with no pits or hazards, you’ll really have to be confident in your fundamentals! Every so often, the screen will flash to a dream and back again.

Stranded Ship – Grinding Glaciers
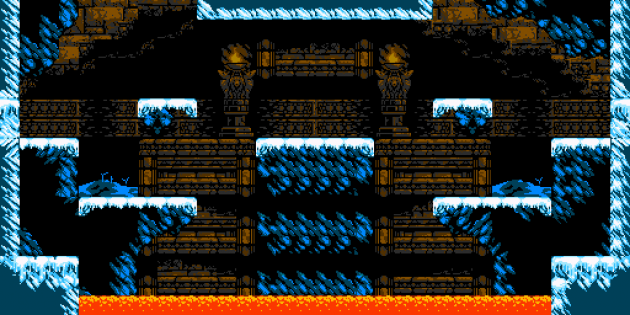
The cold, slow grind of progress continues. Every 12 seconds, the stage’s shape will change due to the moving glaciers. When the ground starts shaking, get ready to move to avoid being crushed or swallowed up by lava!

Village – Armor Outpost
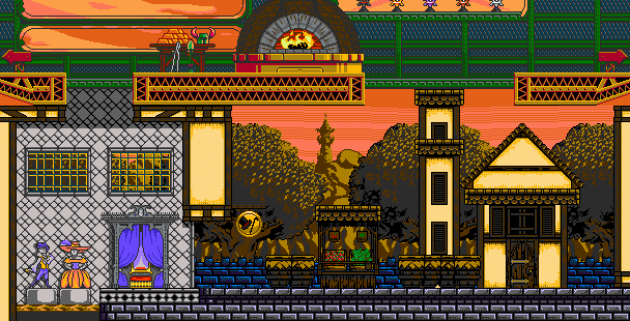
The last bastion, deep in enemy territory. There are many mini arenas here- Airship, Hat Shop, and Town…play to the strengths of each one. Keep in mind all the options for navigating the dense platforms. Use the screen wrap to cross quickly!

Explodatorium – Potion Drains
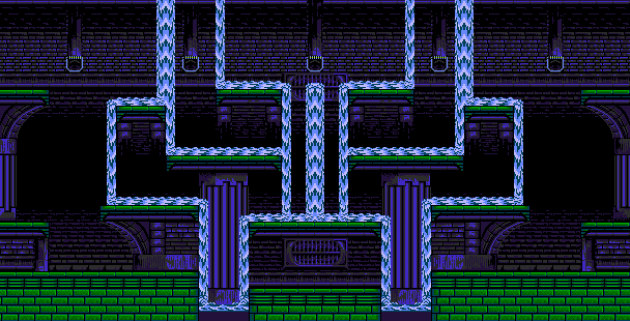
The explodatorium is full of deadly chemical potions. The water here pushes players in the direction of its movement, use it to your advantage! The gems spawn in different locations but the potions will drop from a consistent hole for a time.

Tower of Fate – Spires
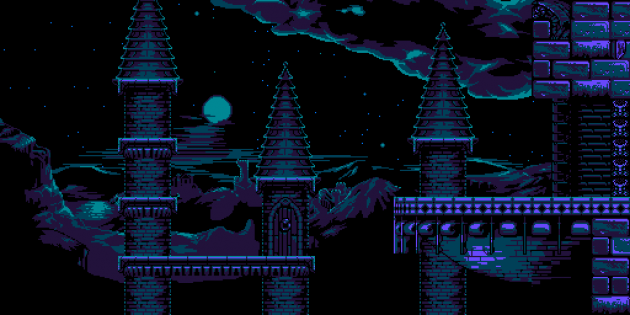
Seems like a great place to reminisce. There’s no time for that! Falling into a pit is easy here, be sure to hold your ground! The right side can be a cornering trap or a platforming reprieve. Use it wisely!

Iron Whale – Treasure Vault
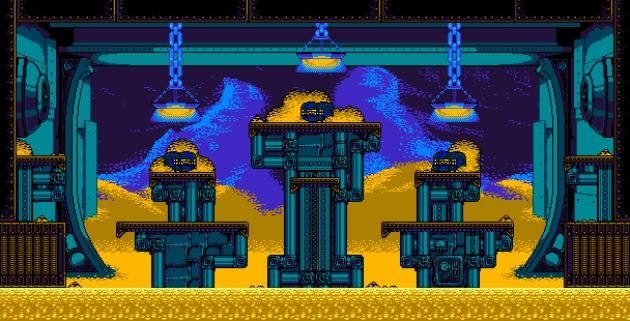
Treasure abounds in the vault of the Iron Whale. The chests here spawn gems and rare food to collect, but watch out for the damaging coins! Standing right on the chest may be too risky! Find the best location under the chest that is appropriate to your character’s ability.

Tower of Fate – Stronghold Tour
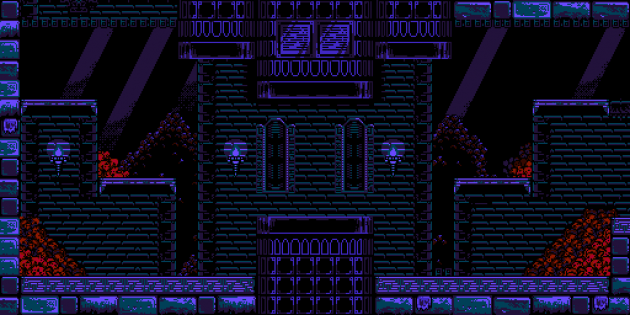
This scrolling tour features many famous locations from past adventures. There are many sections. Beware of pinch points! The beginning starts calm, then begins a platform heavy climb. A visit to the Order of No Quarter is next..watch out for the chicken! It ends with an all out race to the bottom.

Event Horizon – Celestial Plane
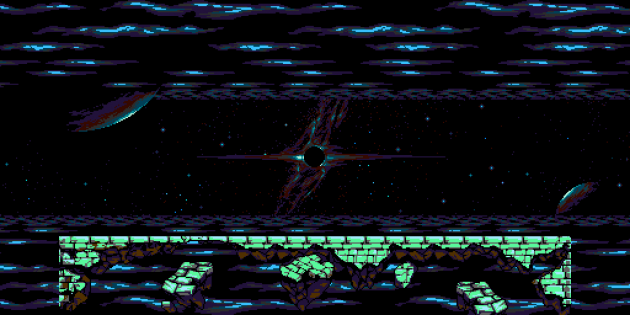
A place forged in destiny- wait, where even is this? The stage is flat with a pit on either side, a great place for balanced, no surprises duel! There is a lot of movement in the clouds and ground, but stay focused on your opponents.


