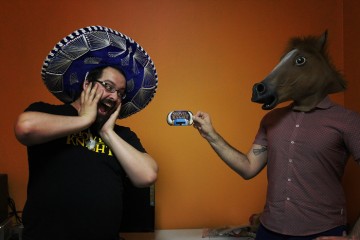
It’s gift-giving season, and we have heard that many of you would like to give Shovel Knight to friends and loved ones. We wholeheartedly recommend this, but there is just no good way to wrap up our digital game in present form!! Therefore, we now present to you the Official Shovel Knight Gift Card Holder. Simply print this out on a nice paper or card stock of your choosing, and slip a Nintendo eShop card into the holder. Viola! If you don’t have a card, then just write a nice message inside to let them know they got Shovel Knight!! Check it!
Click This Link for the Full Size Version!!
And finally, if you do this… please take pictures and send them to us!! We would love to see your beautiful packages and reactions!!
How does this thing work!
We realize some of you might be artistically challenged like myself. So here’s a little guide for how to put the holder together:
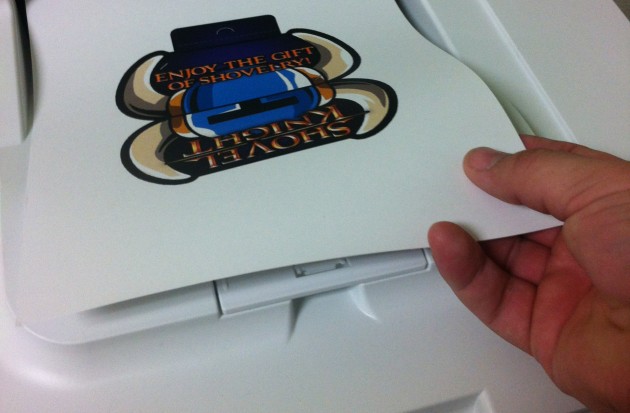
Ooooh nice paper!
First step! Simply print the holder at this link out on a nice paper or card stock of your choosing.

Some expert cutting!
Next step! Cut the holder out. Use an X-acto knife to get a precise cut, or use your talented scissor hands to remove all the non-holder paper from your life. Don’t worry, if you make a bad cut, you can always try again or just claim Santa messed with it when he ate those cookies!
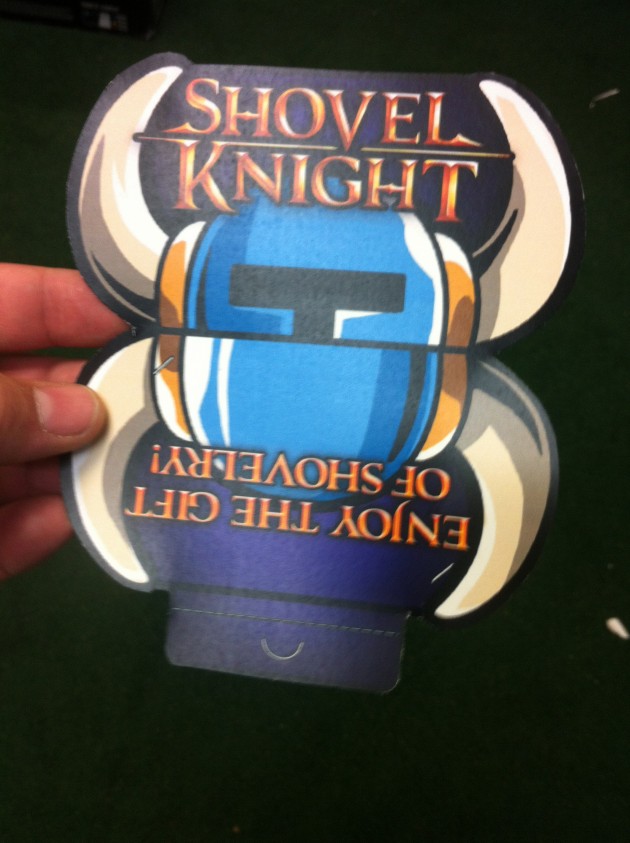
At this point, you should have a nice cutout!

Oooh Mario!
Now is probably a good time to find your gift card. The next step will require cutting out slots designed for the card. Not all of them fit perfectly though, the holder is designed to fit a credit card size. If yours is bigger, either cut it down with scissors, or plop it behind the holder inside the card. If you don’t have a card, then we recommend writing a nice message inside to let them know they got Shovel Knight!! Or maybe you should write a nice note anyway!
Here are the corner slots for the gift card. An X-acto knife is best used here! If your card won’t fit or you dont have one, don’t bother with this step!

Alternatively, use Shovel Knight for gift cards to your favorite Japanese restaurant!
Above is an example of how the card fits snugly inside the holder!
After the card and note is prepared, it’s time to do some folding. Get to work!
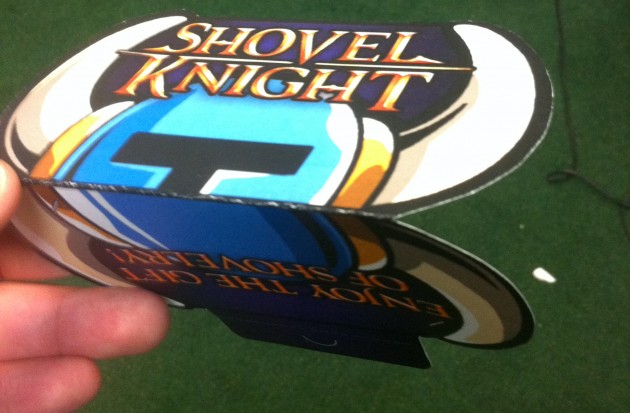
Fold #1
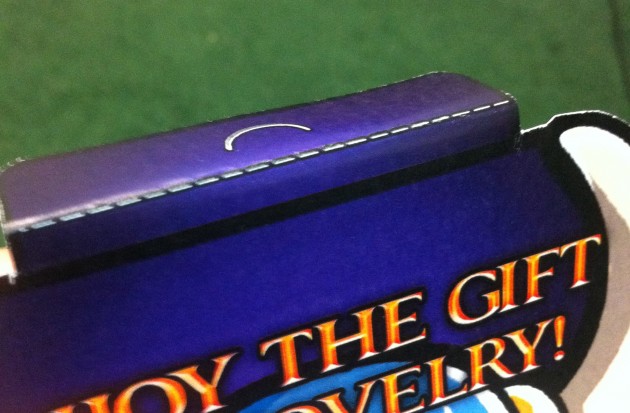
Double fold?! Are you nuts!
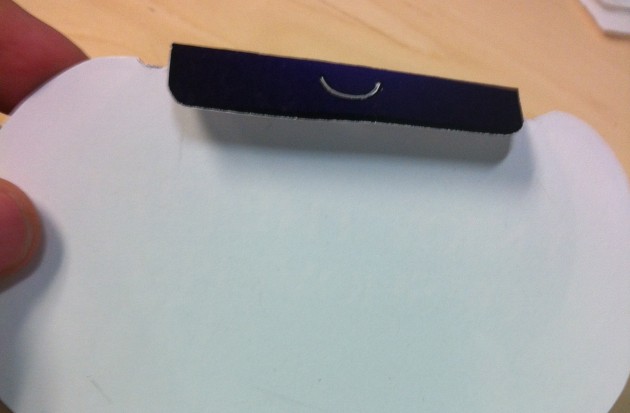
The double fold completed
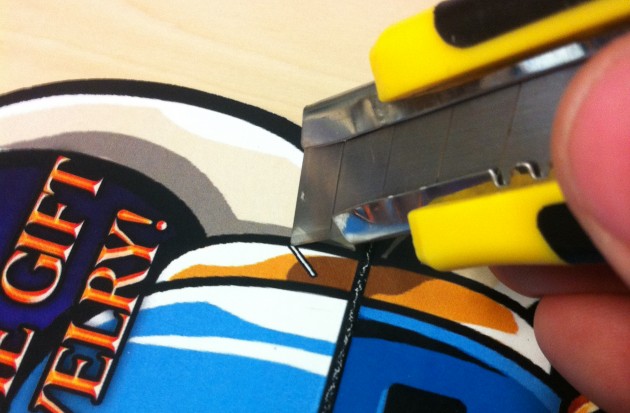
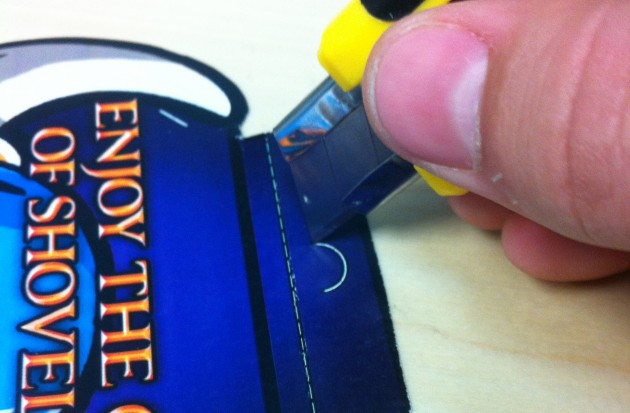
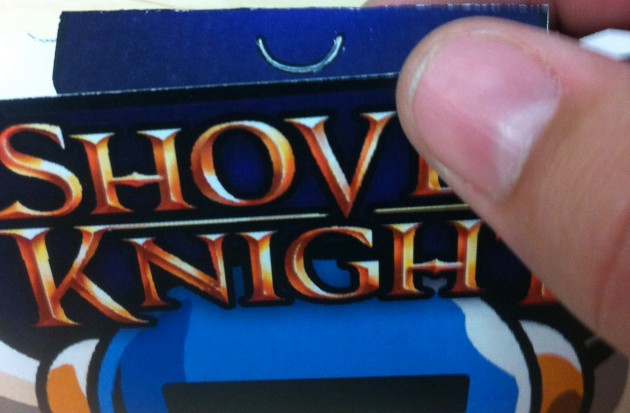
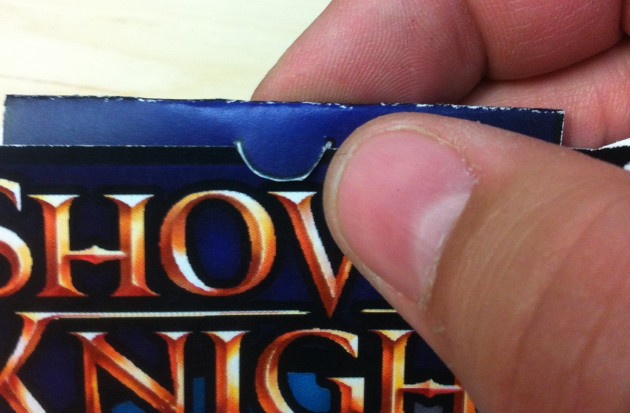
The final step is cutting the semi-circle out of the top flap. This requires precision cutting. If you don’t have something to accomplish this, then we recommend cutting off the top and taping together the sides from within.
After cutting, you’ll stick the little semi-circle nub in front and the rest of the fold behind. And Voila! Your gift is complete!

Best gift ever!
Happy Holidays everyone! Thanks for a great year!


