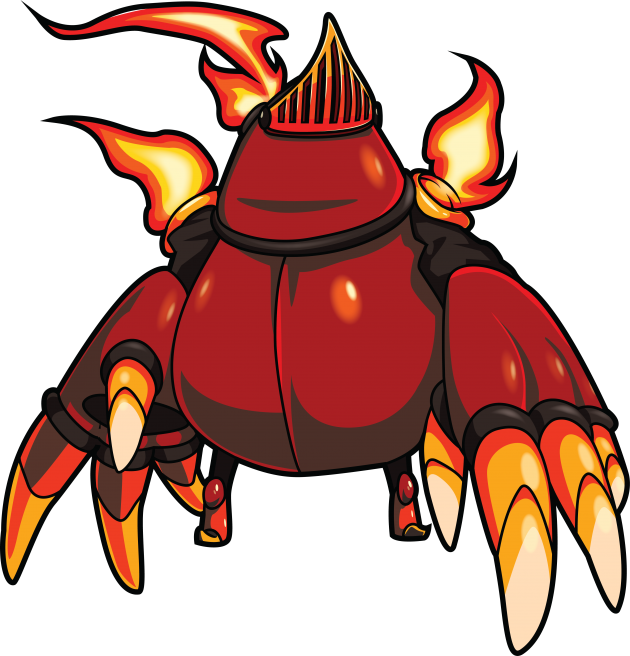
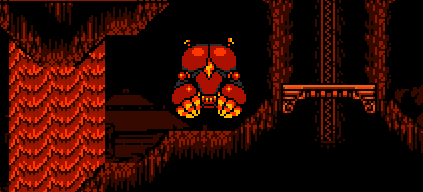
The fiery foreman is here to dig — and there’s plenty of work to be done!
Mole Knight
Mole Knight wields a diving play-style which allows him to sharply change directions. He’s at his strongest on flat terrain where he can burrow underground to evade attacks while also keeping opponents guessing. By constantly chaining all of his moves together, he can always be mobile!
Claw Swipe
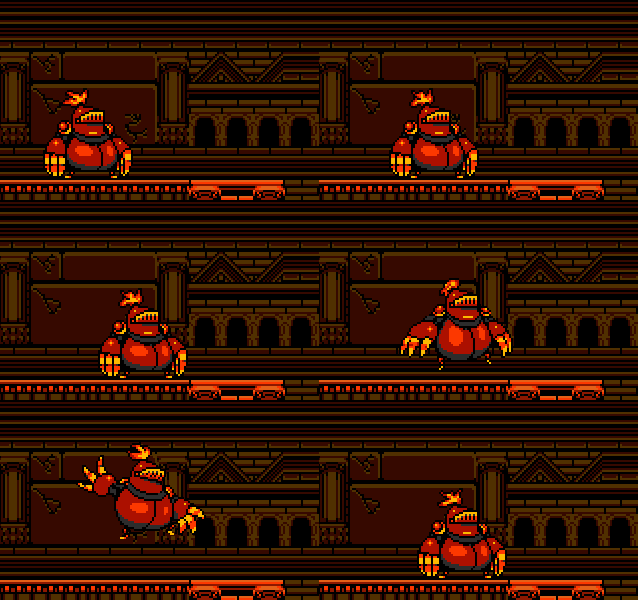
A flaming hot slash! The sweeping flames cover some solid space, so you don’t need to worry about lining up your attack with enemies above or below you. This swipe will pull Mole Knight forward when executed on the ground, so use it to catch enemies and reduce striking distance at the same time!
Belly Slide
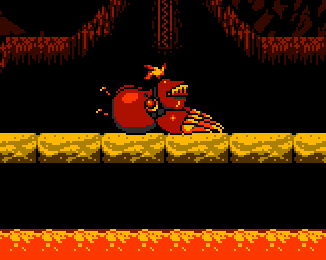
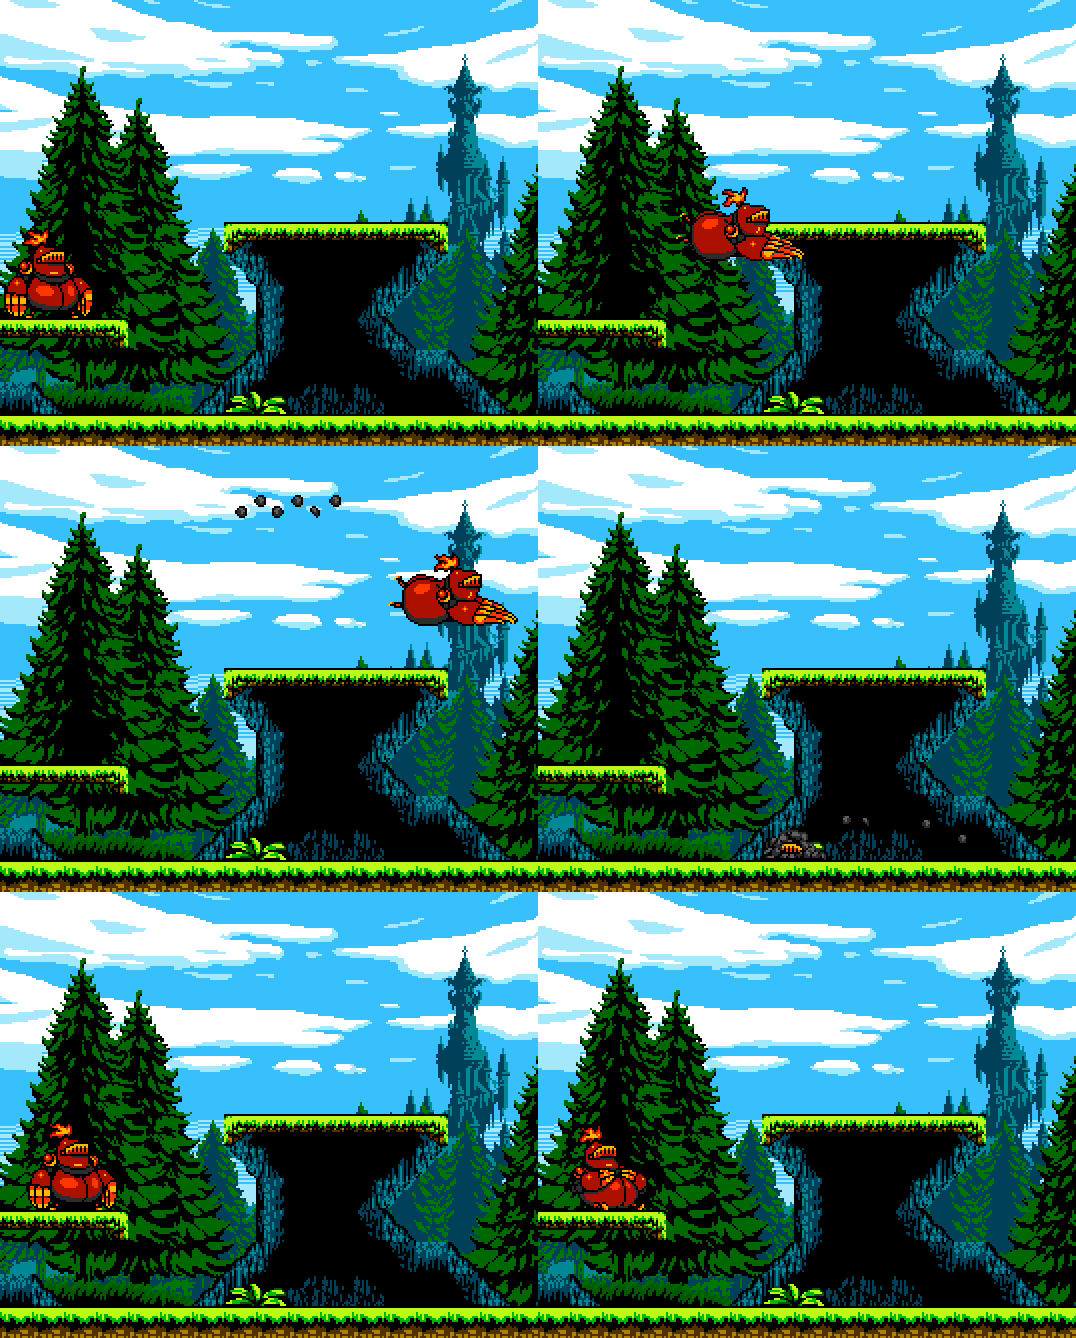
Hold attack to charge, then release to fly forward with your claws out! You can slide for quite awhile, off platforms and onto foes alike, before naturally coming to a halt. You can also put on the brakes by pressing jump or by trying to turn around.
Keep an eye out for obstacles! Barreling headlong into a wall will result in some recoil, and can leave you open. Start the slide in mid-jump to get some extra distance!
Spiral Drill
Hold up and press Special to launch Mole Knight upward with a spinning claw strike.
This attack is excellent for striking enemies from below. You can still move forward or back when executing the spiral, which makes this a useful recovery move as well. You might have noticed that after the spiral attack, Mole knight goes right into a dive! Let’s unearth its lost secrets:
Burrow Dig and Diving Dig
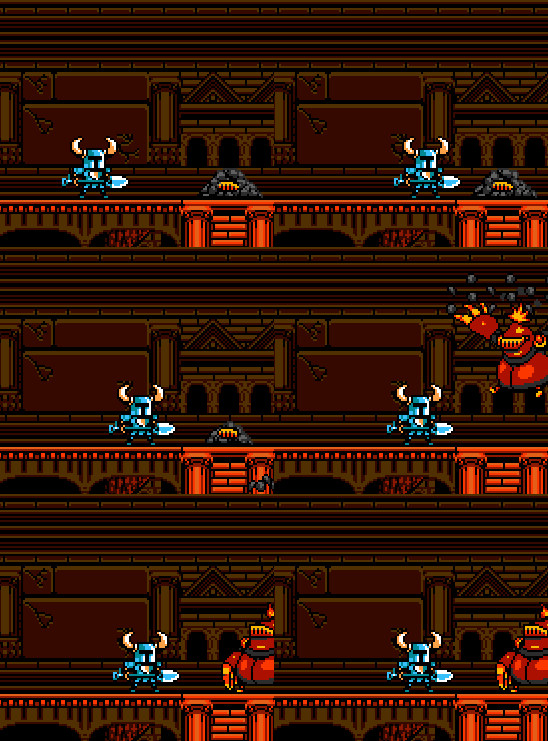
Press the Special button, and Mole Knight will begin plummeting toward the earth below with a Diving Dig! This dive always follows the Spiral Drill attack. The diving motion is fast…but be careful as it is not an attack. Pressing Special while already on the ground will put you into an immediate Burrow Dig.
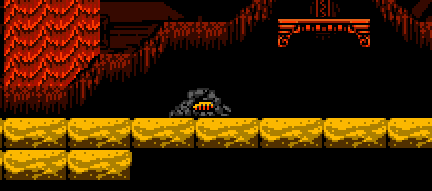
Once you dig into the the ground below…
Woah! Mole Knight burrows into the ground! While underground, he is a great deal more difficult to hit and he can absorb one strike without taking any damage. Getting hit a second time will both hurt Mole Knight and fully pluck him up from underground.
The low profile is useful for dodging projectiles and overly aerial enemies. It’s no fun being a sitting target, right? Don’t worry! Mole Knight is here to dig! Press left or right to begin tunneling forth!
Mole Knight can move pretty quickly back and forth along solid ground, but he’ll hit a bump in the road at any wall or ledge. Mole Knight can leap out of his Burrow Dig at any time with the press of the jump button. Just make sure there isn’t an enemy attack waiting for you topside!
Burrow Dig will also pass through enemies. Combined with its one hit shield, it can be very effective for racing to a gem, item, or just a safer spot on the battlefield.
Erupt
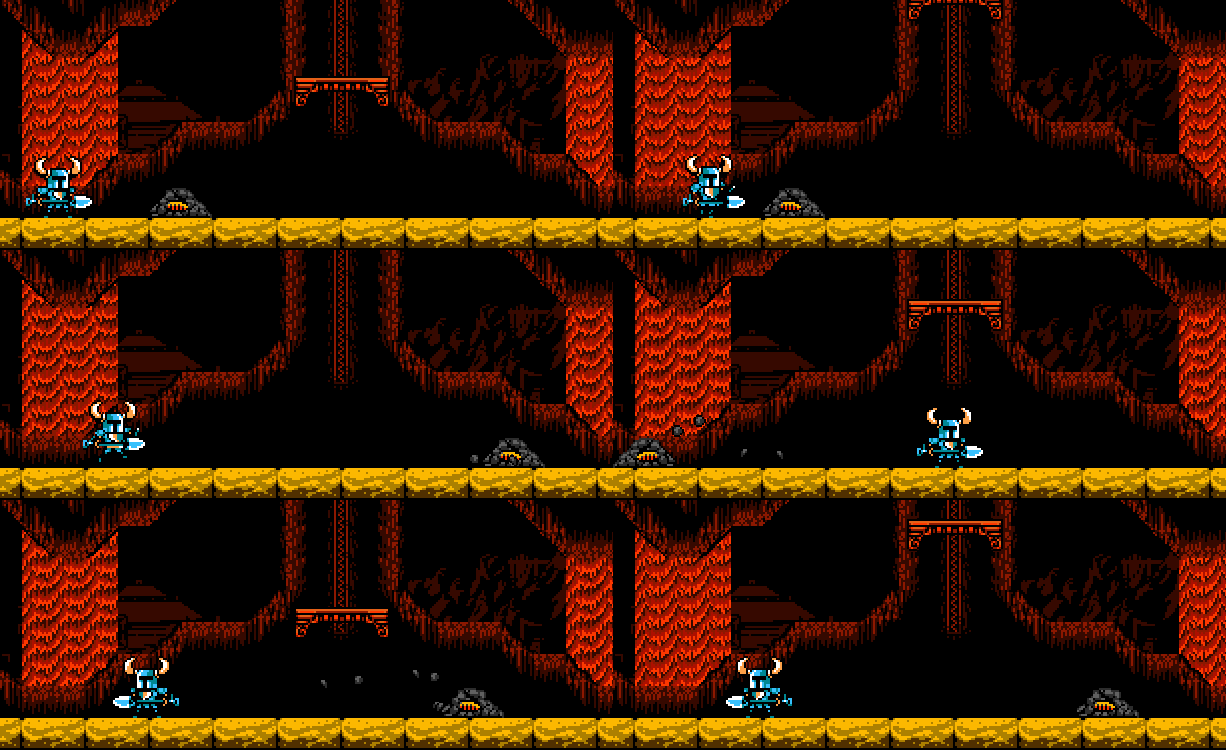
This dig site specialist has one more trick up his sleeve, and it makes for one flashy entrance! While burrowing, pressing and holding Special will launch Mole Knight into the air with gusto. Once he touches down on solid ground…
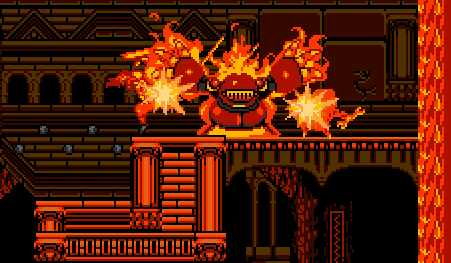
Fwsssh! His armor ignites in powerful flames! This attack is a great for bombing opponents that weren’t keeping an eye on you, and clearing away many unsuspecting enemies.
You’ll be left vulnerable if opponents see this attack coming. Much like changing your normal jump height with the Jump button, you can vary the leap height by holding Special down for different amounts of time. While you lack full control, you can steer in a direction by pressing forward/back.
Gain some speed while burrowing and leap out for a real ferocious and far away strike!
Bringing It All Together
Mole Knight’s attacks and motions are all much stronger when used one after the other.
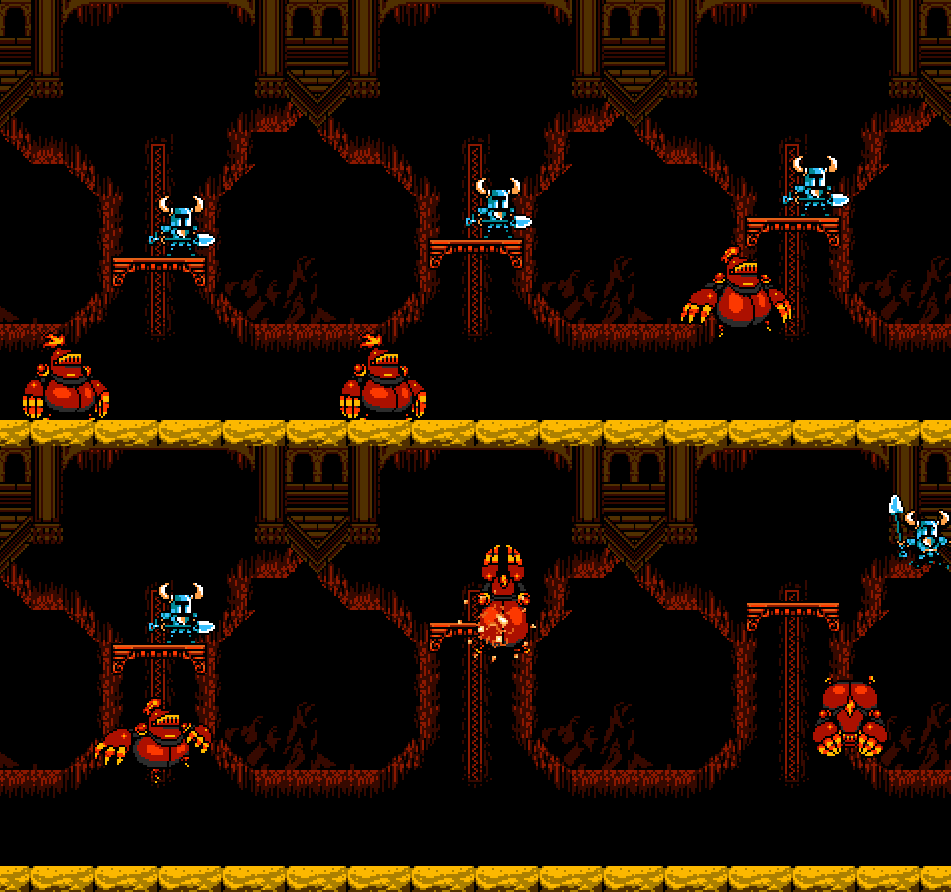
Use Belly Slide to move forward quickly, then hit an enemy from below with the Spiral Drill!
Or use Belly Slide as a feint, and dive below the ground right before combat!
Or use Belly Slide as an attack and hit them with your claws!
Once in the ground, begin charging your next slide to be ready to explode from the soil at a moment’s notice. All of the attacks from Erupt use the Special button, so you aren’t losing out on any move options by committing to this charge. You can begin a Belly Slide right from the Burrow Dig or after a jump!
If you happen to Belly Slide into a wall, then make the most of this momentary workplace accident. You can recover with a a Spiral Drill upward (useful for topping off over a ledge) or a Burrow Dig downward to stay in motion.
It might be tempting to go for the Erupt attack all the time — but it is a delayed attack with some real risks! Mix in normal jumps and Belly Slides from the dig pile to keep your opponent constantly on guard. You’d be surprised how often a jump and Claw Swipe can be the final word in a fight. Staying evasive and absorbing attacks can also tire out your opponent.
By hot-swapping between all of his options, Mole Knight can effectively always keep an enemy guessing. Will he slide? Will he dig? Will he erupt out with a big attack? Or just a normal swipe?
Now, break time is over! Be sure to check out our other character highlights until the next shift.

